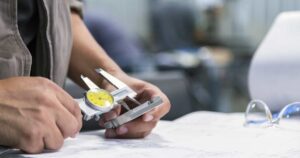
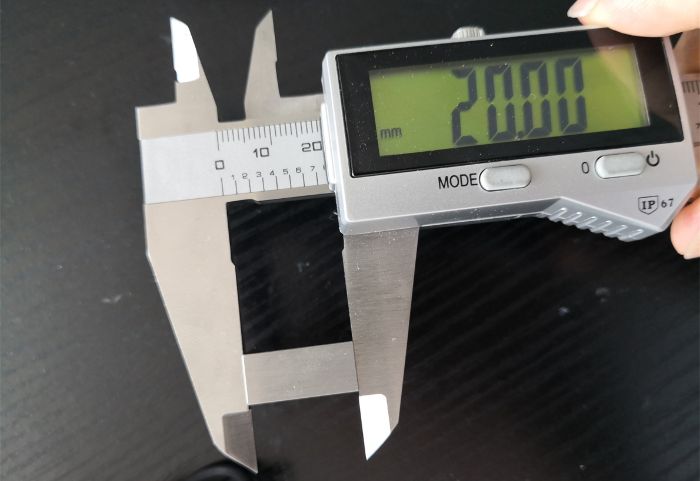
The calibration of measurement and test equipment is adjusting it so that it provides an accurate reading.
Calibrated measurement and test equipment is an indispensable tool for a quality assurance team, factories’ ability to do their own inspections on components and products, and for laboratory tests, too.
You know the value of product inspections, but if you are not monitoring measurement and test equipment calibration then inspections may return inaccurate results.

- ISO/IEC 17025 General requirements for the competence of testing and calibration laboratories
- ISO 9001:2015 Quality management systems
- Hazard Analysis Critical Control Point (HACCP)
Why calibrate measurement test equipment?
Regular calibration ensures that your measurement test equipment performs within required parameters and it brings confidence in the accuracy of the results of tests/inspections.
What’s the calibration process?
First, you need to physically adjust/calibrate the equipment, and then you log the results.
Here is an extract from our internal work instruction for calibration of calipers, as an example for you.
Step 1
Clear the caliper jaws and track of grease, dirt or any other foreign matter by wiping them completely clean with a cloth. 用布清除卡尺钳口所有的油脂,污垢或任何其他异物。
Step 2
Ensure that the gear glides smoothly across the tracks by moving it back and forth. 通过前后移动,确保齿轮顺畅地滑过轨道。
Step 3
Close the jaws together and note the reading at this time. The dial should read zero. If it doesn’t, manually adjust the dial to zero.
将钳口合在一起并记下此时的读数。表盘应为零。如果没有,请手动将拨盘调零。
Step 4
Check the OD (Outside Diameter) jaws first by inserting a 10 mm gauge block in between the caliper jaws. Close the caliper so that both jaws are touching the block. Record the reading. 首先在卡尺钳口之间插入一个 10 mm 的量块,检查外径钳口。关闭卡钳,使两个钳口都接触到 滑块。记录阅读。
Please note, this is not the full WI for this calibration activity.
For calipers, we use gauge blocks and we do the calibration by ourselves. We send the gauge blocks for verification to an ISO 17025-certified calibration laboratory on a regular schedule, too. Otherwise, the chain of calibration is broken and that’s a major lapse our quality system.

In certain cases, we also send the equipment to a calibration lab and they do the calibration.
How are calibration records kept?
Now that calibration is done, the records are kept as follows:
- We have a register for all the devices we use and keep records of calibration/verification in that register.

- A calibration method, as well as calibration frequency, is defined.

- The calibration records are also documented and retained.

- A sticker is added to successfully calibrated equipment so that users can ensure it is within calibration.

What if equipment can’t be calibrated?
Some equipment can’t be calibrated during its lifetime. It’s either accurate, or it needs to be replaced with by a new piece. In this case, the equipment will be verified.


